Background

Thursday, June 30, 2011

Chicken Tacos

Greetings blog readers! I feel like I’ve been a little behind on my blogging lately, but I’m back today with a great recipe for chicken tacos.


I love this recipe because it incorporates three of my favorite things: a crockpot, laziness and Pepper Jack cheese. Plus the tacos are relatively low-fat and taste great with a Corona. My main squeeze told me that these tacos were better than the version served at our local Mexican restaurant so I will take that as a big old compliment. Now if I can just learn how to make pizza we’ll really be in business! So, anyone have any good pizza recipes?

Chicken Tacos


16 oz container salsa
6 boneless, skinless chicken thighs
15 oz can black beans
1 package of 6" corn tortillas
Sliced Pepper Jack cheese
Tomatoes, chopped
Avocado, chopped
  1. Place chicken, salsa and black beans in crockpot. Cook on low for about 8 hours or on high for about 5 hours (adjusting temperature as needed for frozen chicken).
  2. Using a gas stovetop, char the tortillas slightly by placing each one individually on a burner for a few seconds until it's slightly blackened around the edges. Please use caution when doing this and watch your tortillas closely to make sure they don't go up in flames!
  3. Make the tacos by layering the tortillas with the cheese on the bottom, followed by the chicken mixture with the tomatoes and avocado on top.

Monday, June 20, 2011

Emeril’s Fish Provencal – My Favorite Summer Dish

A few years ago I was browsing through Martha Stewart’s Everyday Food Magazine and found this recipe for Emeril’s Fish Provencal.
Photo via Martha Stewart
Note: mine never looks this pretty, it's okay though, it still tastes delicious!

The recipe doesn’t look like anything special, but I have to tell you the taste is absolutely amazing and the recipe quickly became a favorite.  It’s so perfect for a summer day, and the big bonus is that it’s also super healthy – high in heart healthy omega-3 fatty acid, lycopene filled tomatoes and cancer fighting dietary fiber in the zucchini. 
Now that I’ve made this about a zillion times, I’ve made a few changes to the original recipe:
1.      When I don't feel like dealing with the grill, I cook mine under the broiler for 20 minutes instead.
2.       Instead of haddock or cod, I used bluefish this time……….but only because it was on sale at the store.
3.       I love Penzy’s Northwoods seasoning so I always use it instead of the Italian seasoning and anise seeds. Plus that saves me from having to buy a random ingredient like anise seeds.
4.       If I have an open bottle of wine in the fridge, I usually add a little splash of wine to the packet.
5.     I used thinly sliced shallots instead of Vidalia onion.

Totally delicious with a glass of white wine, out on the patio!

How about you? Do you have a go-to summer favorite

Monday, June 13, 2011

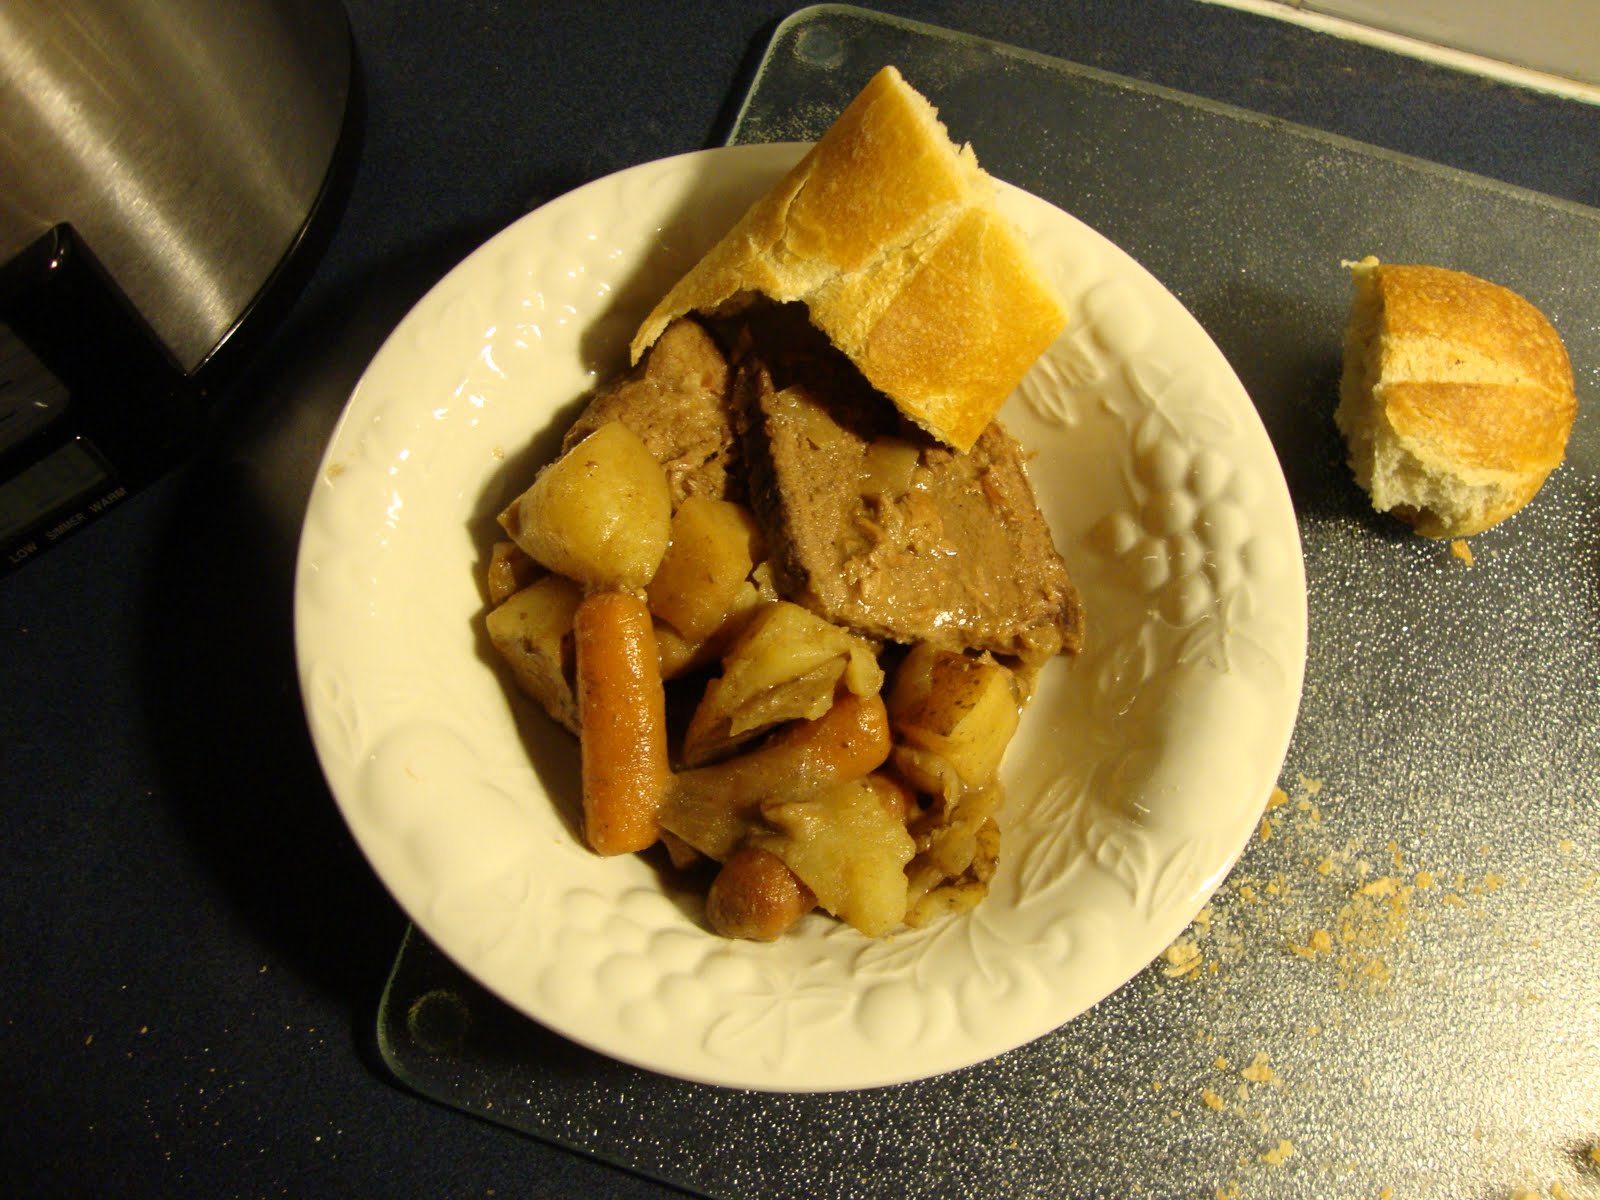
Slow Cooked Pot Roast with Whiskey Gravy

We just returned from the absolute best vacation ever in Disney World. Everyone say yay for Disney World! Who knew that Disney was so much fun for adults? We were like two big kids running around to all the rides, picking out which things we wanted to do next…..plus now we have the added bonus of being old enough to fully experience the Epcot World Showcase (a.k.a. the international beers and snacks of the world).  Huge score.
Photographic evidence of us finishing our vacation with French champagne & crepes
Now we’re back to reality, sigh. I think we’re both feeling a little bummed to be back to the real world so I decided we needed a little comfort food pick-me-up to start the week.  That and I had a pot roast in the freezer that was starting to feel a little neglected. Hence, slow cooked pot roast with whiskey gravy! Which, by the way, to add to the huge list of reasons why I love my slow cooker…..did I mention that we don’t have air conditioning here and that the thought of using the oven in 90 degree weather is not so appealing? I’m just saying, expect lots of slow cooked love this summer.

Slow Cooked Pot Roast with Whiskey Gravy

1 1/2 pound beef roast
10.25 oz can beef gravy
10.25 oz warm water
A few handfuls of baby carrots
1 onion, cut up
3 small russet potatoes, cut up
2 tsp flour
1/4 cup whiskey
salt & pepper to taste

1. Place beef roast in slow cooker and surround with vegetables. Pour the can of gravy over top, and add one can full of warm water to the slow cooker. Cook on low for 10 to 12 hours.
 
2. At the end of the cooking time, remove roast and veggies from the slow cooker and strain the juices into a saucepan on the stove.

 
3. Mix together the flour and whiskey (I usually shake mine in a mason jar to get out all of the lumps) and whisk the flour mixture into the juices in the saucepan to create a gravy. Add salt & pepper to taste and bring to a rolling boil, stirring or whisking frequently.
 
4. In the meantime, slice the beef and add it back to the slow cooker along with the cooked vegetables. When the gravy is done, pour it back into the slow cooker and put the cooker on warm until ready to eat.

*Note: I used a roast straight from my freezer, you may need to reduce the cooking time if you are using a piece of meat that is not frozen.
Yum - looks good enough to eat!

Monday, May 30, 2011

Memorial Day Cheeseburgers!

It’s officially summer in NYC, time for backyard BBQs, walks in the park and sweating it out in the subway stations.  

It also means that the fleet is in for Fleet Week….well hello sailor!

Photo via NY Daily News


Photo via Gothamist

In honor of Memorial Day this year, I salute our devoted servicemen and women with the most American thing I can think of.....a cheeseburger!  NYC loves you and thanks you for your devoted service. So up kick your feet, grab a beer and enjoy the guilty pleasure of a greasy burger because, baby, you've earned it.


1 lb ground beef
1 tbsp BBQ rub seasoning
1 tbsp Worchestershire Sauce
1 tsp dried parsley
1 avocado, sliced
1 beefsteak tomato, sliced
4 slices pepperjack cheese
4 hamburger buns
cooking spray

Directions
  1. Mix together ground beef, BBQ rub, Worchestershire sauce and parsley. Form into 4 flat patties (about 1/4 inch each). Note: try not to overwork the meat because that will result in tough burgers.
  2. Heat a frying pan coated with cooking spray over high heat. Add burgers and cook for 3 minutes.
  3. Flip burgers and add cheese. Cover and cook for an additional 3 minutes.
  4. Assemble burgers on buns with avocado and tomato slices. Enjoy!

Memorial Day Cheeseburgers

Tuesday, May 24, 2011

Broccoli, Pea and Prosciutto Pasta Bake - recipe help needed!

I have a confession to make….I made a terrible dinner the other night.  It didn’t taste like feet or anything, it was just kind of lame.
I was in the mood for a baked pasta dish but we’ve been trying to eat healthy. I figured it would be easy to whip up something good and low-fat. Wrong. Somehow in my zeal for low-fat deliciousness, I made a very boring dish. What can I say; sometimes the man of the house gets stuck with a big, steaming bowl of bland for dinner. Big bummer though, I was really hoping this one would work out because I wanted to love it.

Photo via tvtropes.org
Now, dear readers, I need your help because I still want this one to work. Take a look and let me know if you have any ideas on where this might have gone so wrong! The person that can tell me how to renovate it into something healthy, lowfat and satisfying gets a big, gold star.
Broccoli, Pea and Prosciutto Pasta Bake

1 10 oz bag frozen broccoli
¼ c frozen peas
8 oz large pasta shells
3 pieces prosciutto, chopped
1 15 oz container non-fat ricotta cheese
2 egg whites
½ c low-fat Italian cheese mix
½ c low-fat milk
¼ c grated parmesan cheese
1 tsp dried oregano
1 tsp dried basil
½ tsp dried parsley

1. Pre-heat oven to 350 degrees. Start a pot of water to boil and cook the pasta per the package directions.

2. Microwave the broccoli on high for 3 minutes, add the peas and microwave an additional 30 seconds.

3. In a large bowl, mix together the remaining ingredients. Add the broccoli, peas and cooked pasta.

4. Pour the entire mixture into a 2 quart square baking dish and bake covered for 45 minutes.

Thursday, May 19, 2011

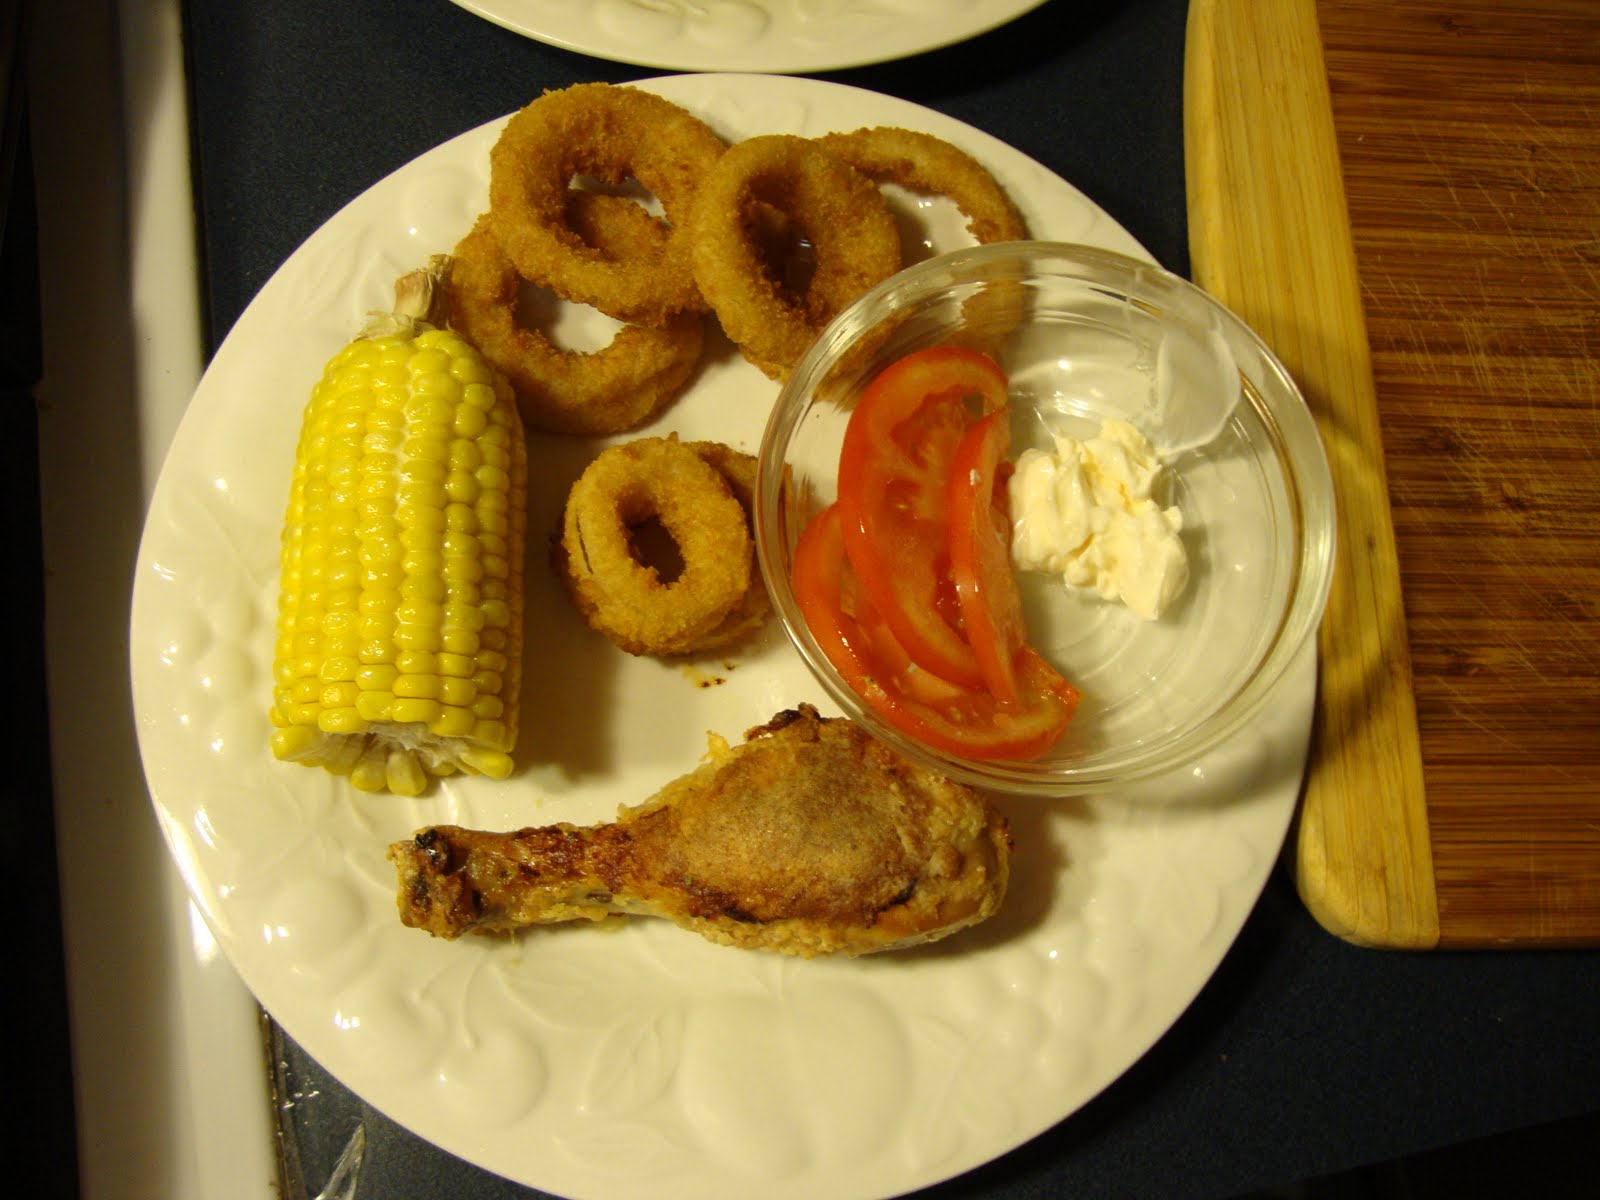
Oven Fried Chicken

Recently I’ve been trying to reduce our weekly grocery bill while finding ways to continue making tasty and healthy meals. My goal is to get our bill down to $60/week, but let me tell you folks it’s not so easy in NYC. Especially since I love, love, love shopping at the fancy grocery store. For some ridiculous reason it’s just relaxing to me… there are free samples of fancy cheese and the milk comes in pretty glass bottles. Speaking of which, big PSA for any readers in the NY metro area; I just found out that you can get $1.50 back for returning your Ronnybrook glass bottles to the grocery store. So there you have it, I’ve officially found an excuse to keep on buying fancy milk and sampling expensive cheese. What?! I get money back, it’s cost cutting!


Photo via: Ronnybrook Dairy
But back to the issue at hand, last week I swapped my usual boneless skinless chicken breasts for more budget friendly skin-on chicken legs. Originally I was going to make regular baked chicken, but I was feeling kind of meh about that as a dinner option so I decided to go for some oven fried chicken instead.
I’m not sure that this really classifies as “healthy” per se, but considering that it isn’t fried in three inches of oil, I’m okay with dubbing it a healthy alternative. However, I will caution you that if you are craving traditional fried chicken with a thick crust, this probably won’t do it for you but it is delicious and makes the house smell A-MA-ZING! Also it goes great with a little bourbon spiked iced tea…..go on with your bad self, I won’t tell J

Oven Fried Chicken
2 cups buttermilk
2 tsp  hot sauce
3 tbsp shortening
1 1/2 pounds chicken drumsticks
2/3 cup Bisquick
1 1/2 tsp poultry seasoning
1 1/2 tsp cayenne pepper
cooking spray
1. Place chicken, buttermilk and hot sauce in a large bowl and marinate in the fridge for at least 2 hours.

2. Put the shortening in a glass baking dish, place the dish in the oven and preheat to 425 degrees.

3. Mix together the Bisquick, poultry seasoning, cayenne pepper, salt & pepper. Dredge the chicken in the Bisquick mixture.

4. Place the chicken skin side down in the melted shortening coated baking dish, spritz with cooking spray and bake for 30 minutes. Flip chicken, spritz with cooking spray and bake for another 30 minutes or until chicken juices run clear. Be sure to let the chicken rest for at least ten minutes so that the skin adheres to the meat.

*note: I didn't have any actual buttermilk at the time so I did the milk & lemon juice trick (1 tbsp lemon juice per cup of milk will give you buttermilk)

**second note: I live in Brooklyn and therefore everything takes forever to cook in my oven. If you have an oven that hasn't been around since the mid 70s, be sure to watch your chicken carefully.

***third note: lots of notes on this one, but a note about Bisquick. I happen to really like the slightly sweet, waffley taste that the Bisquick gives the chicken, but if this isn't your thing and you're more of a purest, feel free to substitute regular old flour.

Hey look! An actual picture of the finished product:
Just um, don’t mind the terrible lighting in our kitchen…..or the huge mayo finger smear in the tomato bowl.

Monday, May 16, 2011

Bourbon Maple Braised Sausage & Pierogies

A few days ago I was really in a cooking mood.  It’s been a stressful few weeks and I was feeling really excited to get in the kitchen and whip up something delicious.  Only one hitch in the plan though….I was too lazy to go to the grocery store.  So instead, I decided to challenge myself to come up with something new and tasty by “shopping” in my kitchen.  Think of it as embracing the freegan lifestyle, but without the part that involves dumpster diving for expired hot dogs.

http://images.businessweek.com/story/08/600/1009_mz_freegan.jpg
photo via Bloomberg Business Week
At any rate, I scrounged around for a while and eventually found a package of chicken sausage and frozen pierogies. Score! I love pierogies and had completely forgotten about them….until now.  The resulting dinner was delicious and gave me warm, fuzzy memories of my Pittsburgh days (Hail to Pitt!).
Now I’m feeling really proud of myself for making a new recipe and saving money by using forgotten freezer food.  What do you say readers? Have you ever shopped in your own kitchen for dinner? How did it turn out?

Bourbon Maple Braised Sausage & Pierogies
1 12 oz package chicken and apple sausage, sliced
1 16 oz package pierogies
1 onion, sliced
1/4 cup bourbon
1 tbsp maple syrup
1 14.5 oz. can chicken broth
1 tbsp olive oil
  1. Cook pierogies according to package directions.
  2. Heat olive oil in a frying pan and saute sausage and onions in a frying pan until the onions soften and the sausage browns (about 2-3 minutes).
  3. Turn off heat and add the bourbon to the pan to deglaze. Turn on the heat and cook off the alcohol. Add the maple syrup and chicken broth to the pan and simmer until reduced by half (about 10 minutes).
  4. Add the pierogies to the pan and heat through.